Using Calendly
More than a scheduling link: Get more out of Calendly with multiple Event Types
Learn how multiple Event Types can map powerful scheduling automation to your complex booking needs.
Ashish Joy
Mar 28, 2022
7 min read
Table of contents
When you start using Calendly, getting to that first scheduled meeting is like magic. You see how easy it is for your invitees to find time with you, and you’re acutely aware of how much Calendly has reduced the scheduling back and forth.
You share your Calendly link in emails, you copy it and send it in text messages and DMs, and maybe you even embed it on your site so invitees can easily book time with you.
You’re happy because Calendly is working as advertised. You’re good to go, right?
For the most part, that’s accurate. After you experience that initial success with Calendly, however, you may wish it was more automated. Even when you see the value of sending a scheduling link, maybe you haven’t realized how else you can leverage Calendly to automate your more complex scheduling processes.
Let’s look at how much value you’ll get out of Calendly with a tiny investment.
Multiple Event Types to the rescue
As your scheduling needs grow, being limited to just a single Event Type can be problematic.
When you need to ensure an event is 30 minutes long, or that it only ever happens on a Monday through Wednesday, or that it happens via Zoom, or that you only schedule two of these kinds of events in a given day, or that you want to have 15 minute buffer before and after an event… you can control all of this with multiple Event Types.
Having just one Event Type can be a major sticking point that blocks more powerful scheduling automation. It’s the most common reason Calendly users upgrade to a paid plan.
When you upgrade to a paid plan like Standard or Teams, you can create multiple Event Types that map to your scheduling needs. Let’s walk through a few scenarios:
Scenario 1: Freelancer needs more info prior to meetings
Sarah is a freelance designer using Calendly to book virtual meetings with potential clients at a record pace. However, she’s started noticing she has to manually audit every meeting booked, and add in details like a link to her portfolio or video testimonials. Some of her meetings are always phone calls that last 30 minutes, while other meetings are via Zoom and those last 45 minutes on average.
This amount of manual work keeps piling up, and it starts frustrating her.
She upgrades to a paid plan on Calendly and creates two different Event Types — one for 30-minute phone calls and one for 45-minute Zoom calls. For both, she includes links to her portfolio and video testimonials from clients. Then she shares the corresponding Calendly link to invitees who need to schedule one of those two meeting types.
Since doing this, Sarah’s made it incredibly easy for potential clients to see immediate value when working with her, while reducing extra administrative work for herself. She’s now able to build a strong pipeline of potential clients, and focus on what she does best — delivering high quality designs to her clients.
Scenario 2: Insurance agent meets people in many different places
Thomas has been using Calendly to grow his insurance practice, and his calendar is packed with virtual and in-person meetings booked through his website. He’s happy at first, but eventually he sees how time-consuming it is for him to manually input video conferencing or physical meeting locations into each calendar event. This point of friction has only gotten worse, and he’s not sure if Calendly has made scheduling easy for him. He likes how easy it is for clients to find time to meet with him from his website, but he’s not too happy about all the extra admin work.
As his insurance practice has grown, he realizes upgrading to a paid plan on Calendly makes the most sense for him. He creates three different Event Types: one specific to a phone call, the other to a Zoom call, and finally another specific to his office location where invitees meet him in person. He sets a 30-minute buffer after in-person meetings, so he can spend more time visiting with his clients, while he sets a 15-minute buffer for phone calls or Zoom calls.
Scenario 3: Volunteer is frustrated by meetings that are too long
Andrew has been using Calendly to manage events for a nonprofit where he volunteers. He’s been happy with how accessible the calendar has been to folks in the community, but he knows not everyone who schedules an hour with him actually needs that amount of time. He has a full-time job and a life that demands more of his time. The administrative overload of manually editing every scheduled event for the nonprofit has been tiresome.
He upgrades to one of Calendly’s paid plans and is quickly able to create five different Event Types, each specific in length, meeting location, invitee questions, and specific confirmation instructions. Now, depending on the type of event someone wants to schedule, they can find time via the appropriate scheduling link that he added to the nonprofit's website.
Andrew is sleeping better at night because he’s not burning the candle on both ends. His skin has cleared up, he’s found a new partner, and his mother has since apologized for underestimating him.
So how do I create a new Event Type?
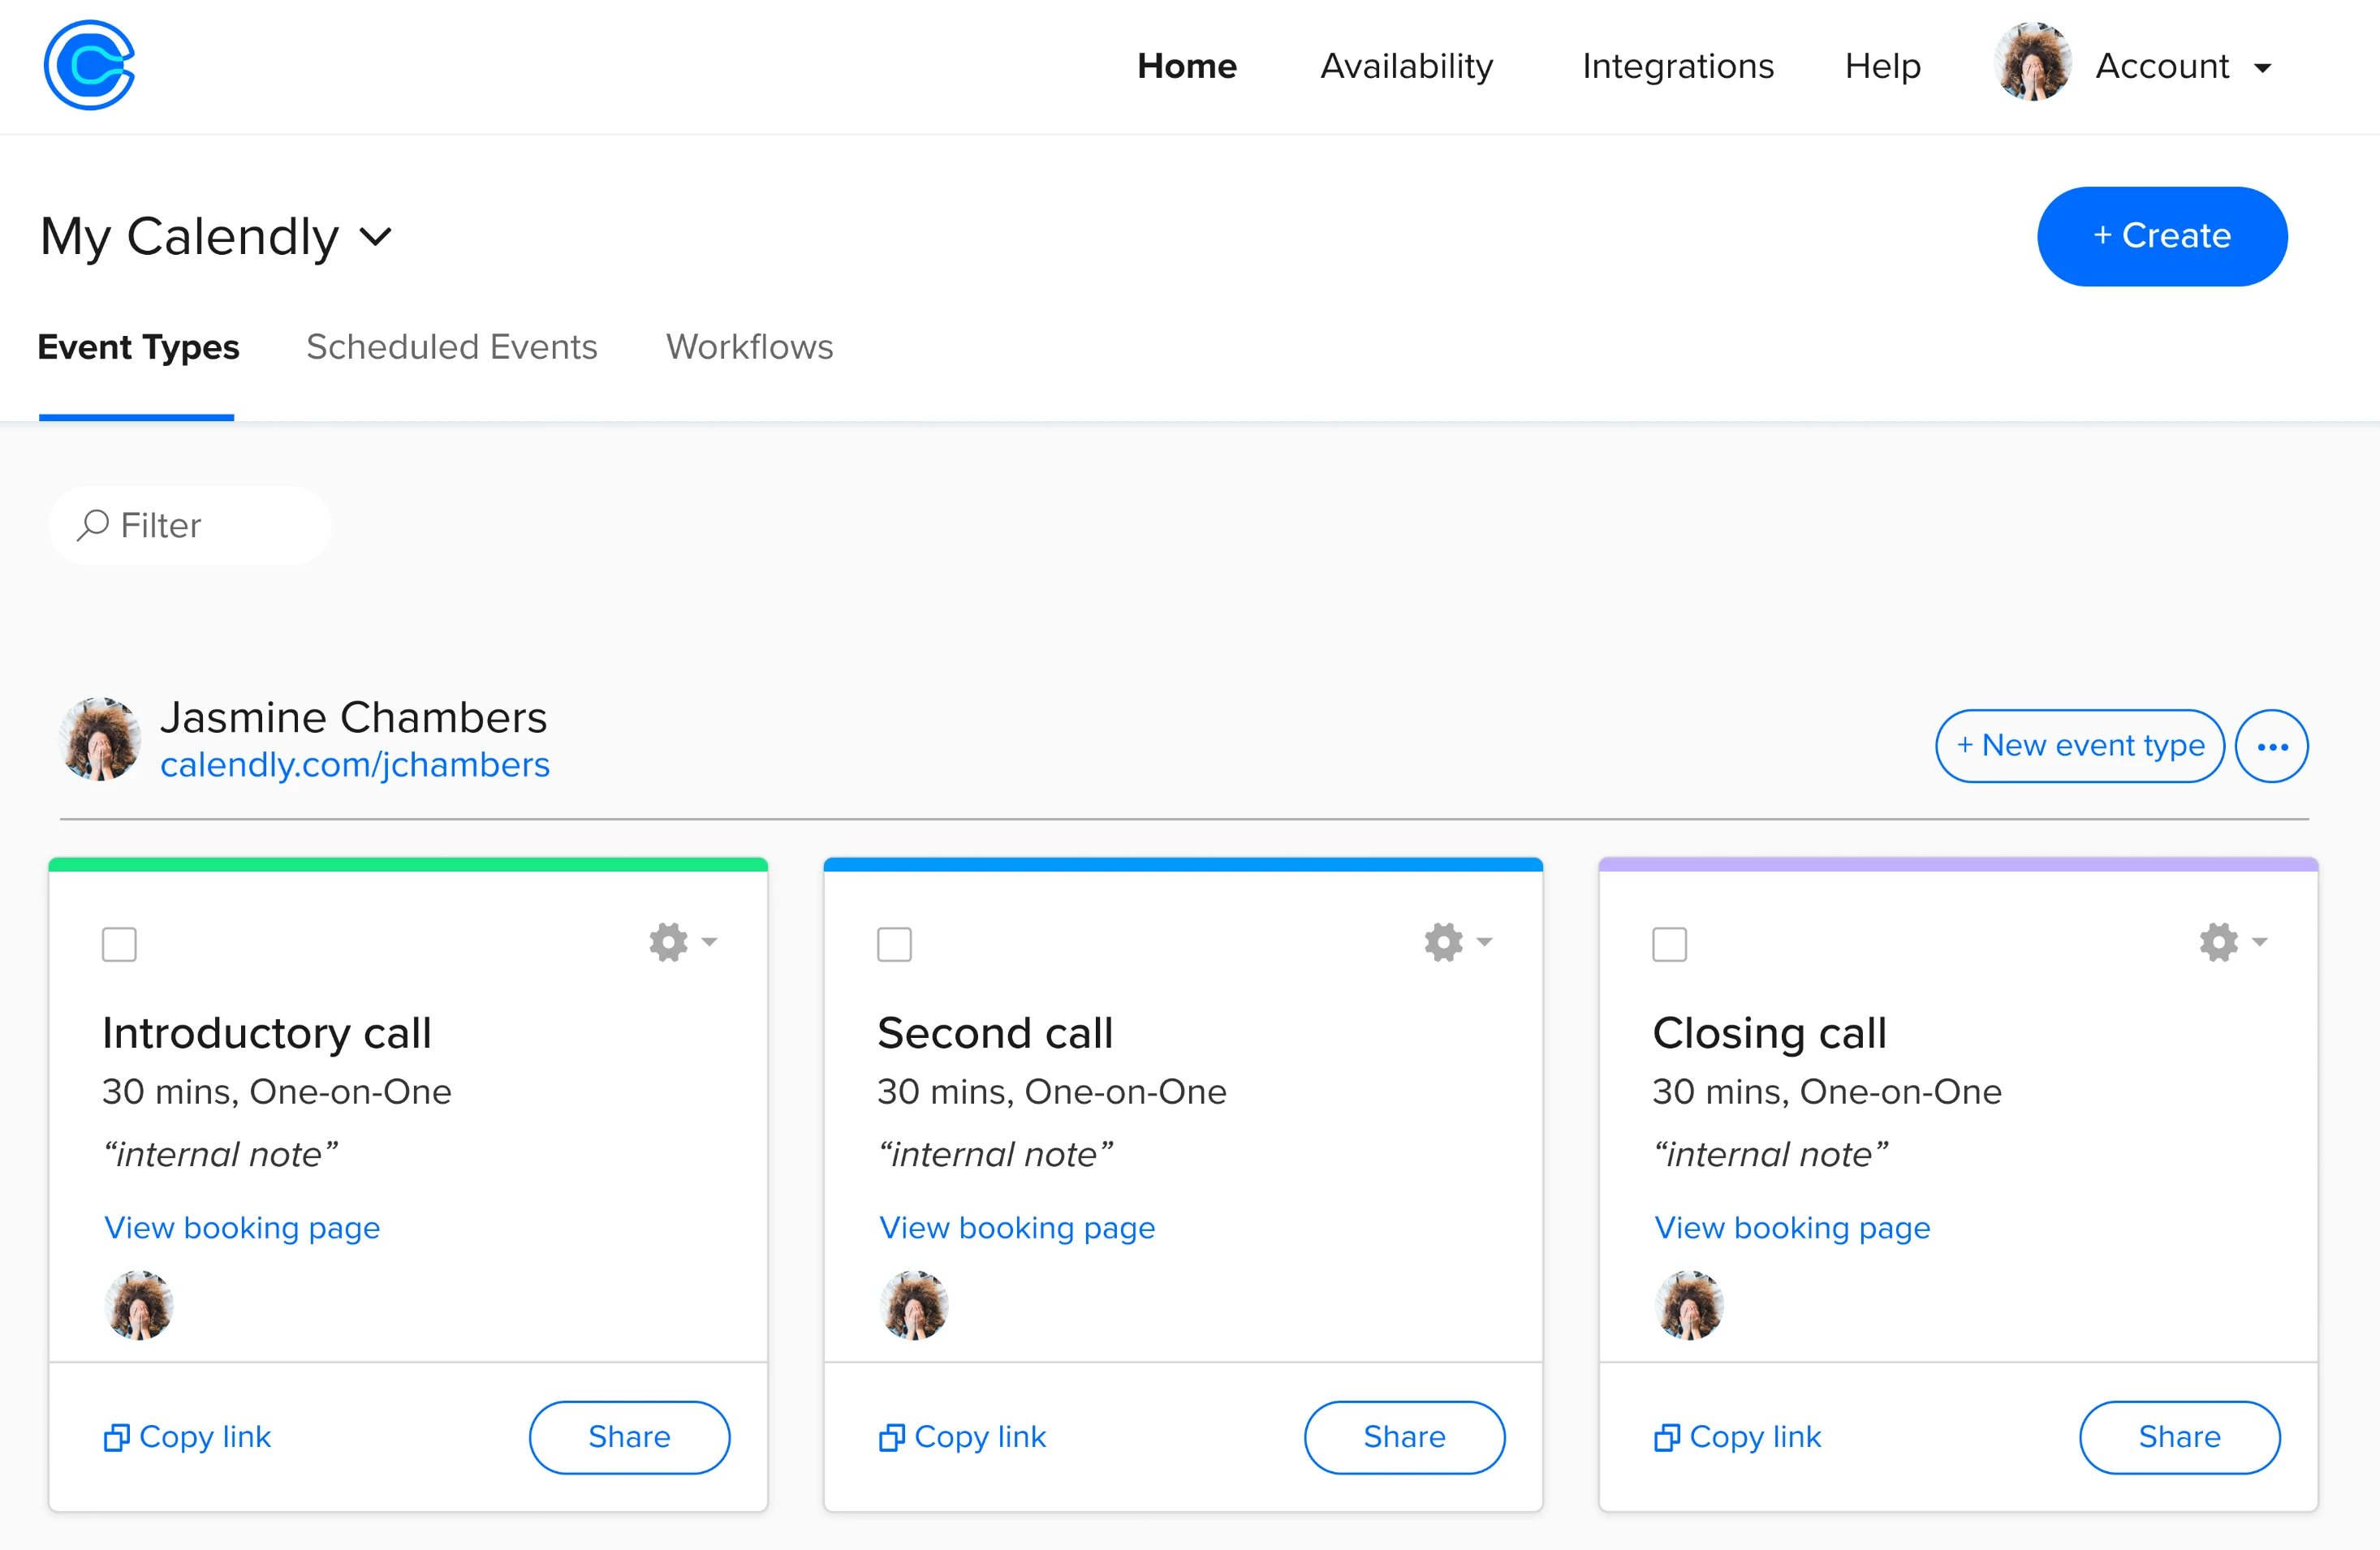
Creating additional Event Types is all about mapping Calendly to the different kinds of meetings you want to schedule on your calendar. You can control an Event Type’s duration, location, availability, start times, buffer time, and so much more. If you have a paid Calendly subscription, you can create as many Event Types as you want.
Here’s how to get started:
From your Calendly account home page, click the blue “Create” button and select the “Event Type” option.
Choose the type of event you want to create (e.g. one on one, or group event).
Add in the various event details you want to set like event name, location (phone call, video conference, or in-person), and event duration.
Customize the schedule, date range, and time zone settings.
If needed, add invitee questions, so you can collect information to prepare before you meet.
Once you’ve set all your Event Type options, click “Save & Close.”
After you’ve created this Event Type, you should see it on your Calendly account home page.
To create Event Types that map to your unique scheduling needs, all you need to do is repeat the above steps as necessary. It’s that easy! Save yourself the hassle of manually editing every event after it’s scheduled.
Reduce administrative overload with multiple Event Types
For many years, I’ve used Calendly as a sales rep and as a product marketer. I needed something that reduced the back-and-forth of scheduling sales calls, customer interviews, and user research calls. Calendly made it easy for me to work smarter.
Now as a Senior Product Marketing Manager at Calendly, I see how our users leverage multiple Event Types, and how much it helps when they can map Calendly to their specific scheduling needs. I want our customers to get the same kind of value out of the product that I was seeing with it even before I worked here.
If you’re on Calendly’s free plan, you already know the magic of scheduling. When you upgrade to one of Calendly’s paid plans and leverage multiple Event Types, you unlock so much more scheduling automation — which in turn lets you focus on the areas of your business that matter most.
Get started with Calendly
Ready to make scheduling easier than ever?
Related Articles
Don't leave your prospects, customers, and candidates waiting
Calendly eliminates the scheduling back and forth and helps you hit goals faster. Get started in seconds.
Calendly eliminates the scheduling back and forth and helps you hit goals faster. Get started in seconds.


